3.2 KiB
Workflow: classic
The workflow goes as follows (once you got your Bevy code setup)
- create & register all your components you want to be able to set from the Blender side (this is basic Bevy, no specific work needed)
Component creation
-
Create an object / collection (for reuse) in Blender
-
Go to object properties => add a property, and add your component data
-
unit structs, enums, and more complex strucs / components are all supported, (if the fields are basic data types at least, have not tried more complex ones yet, but should also work)
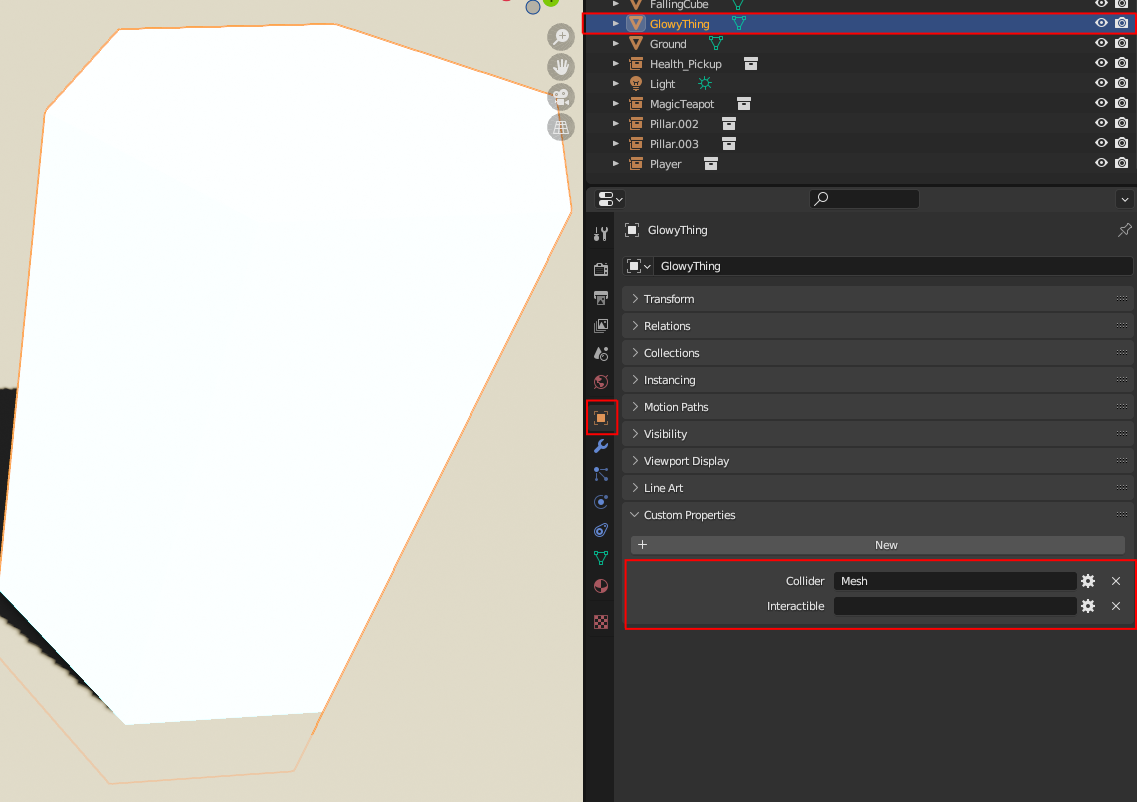
- for structs with no params (unit structs): use a STRING property & an empty value
- for structs with params: use a RON representation of your fields (see below)
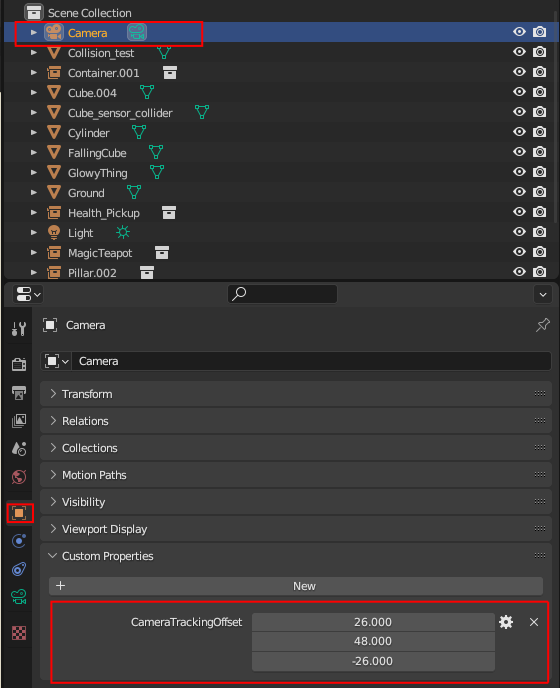
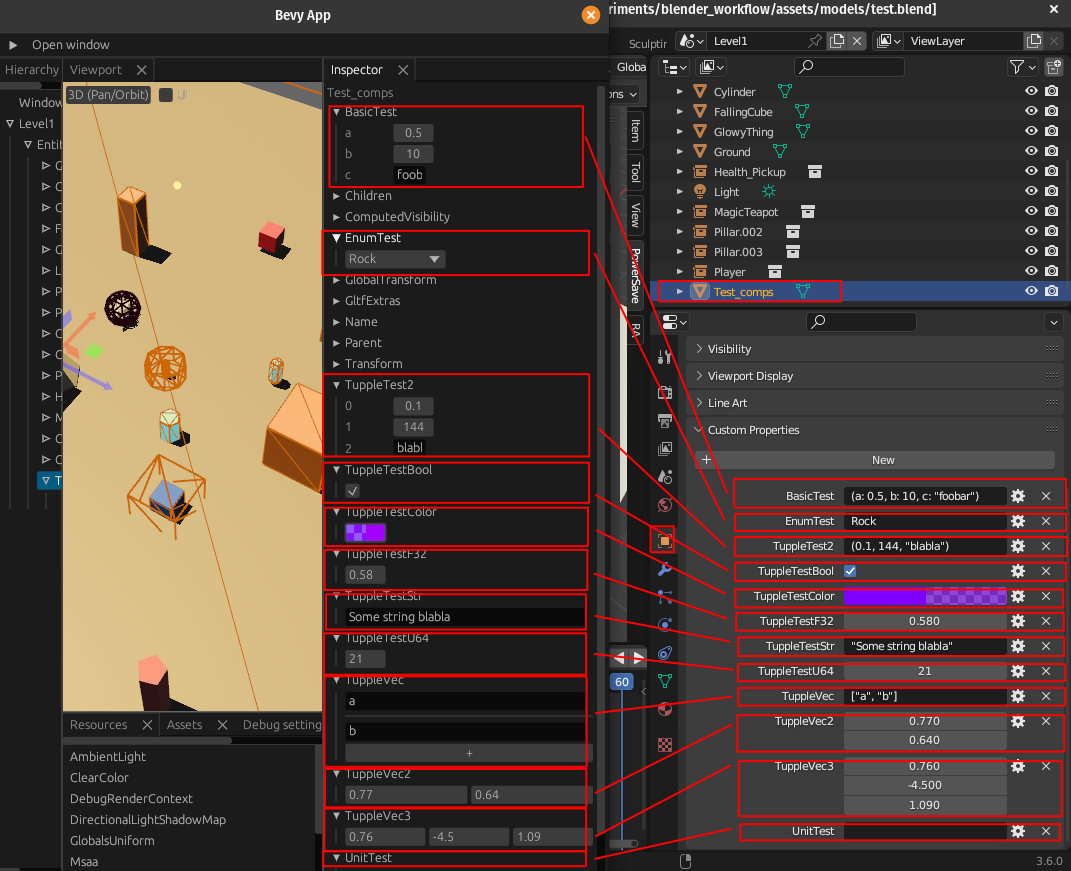
- for tupple strucs you can use any of the built in Blender custom property types: Strings, Booleans, floats, Vectors, etc
In rust:
(the Rust struct for these components for reference is here )
In rust:
(the Rust struct for this component for reference is here )
There is an other examples of using various Component types: Enums, Tupple structs, strucs with fields etc here, even colors, Vecs (arrays), Vec2, Vec3 etc are all supported
-
-
for collections & their instances:
-
I usually create a library scene with nested collections
- the leaf collections are the assets you use in your level
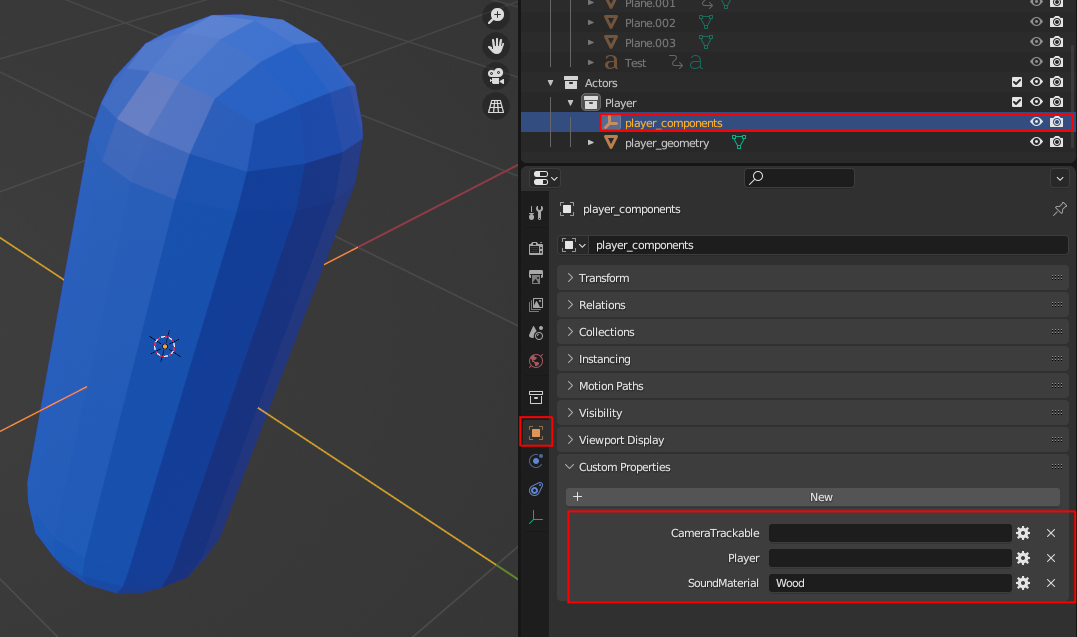
- add an empty called xxxx_components
- add the components as explained in the previous part
-
In the Level/world itself, just create an instance of the collection (standard Blender, ie Shift+A -> collection instance -> pick the collection)
-
Exporting to gltf
- export your level as a glb/gltf file :
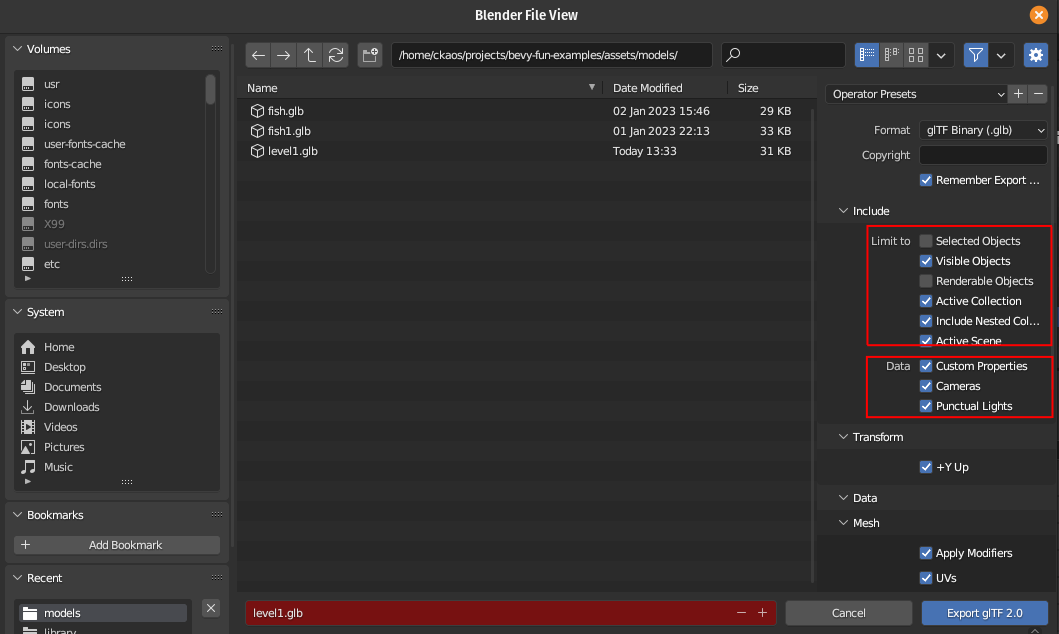
- using Blender's default gltf exporter !!IMPORTANT you need to check the following:
- or much better, using gltf_auto_export
Now use your gltf files in Bevy
- load it in Bevy (see the various examples for this)
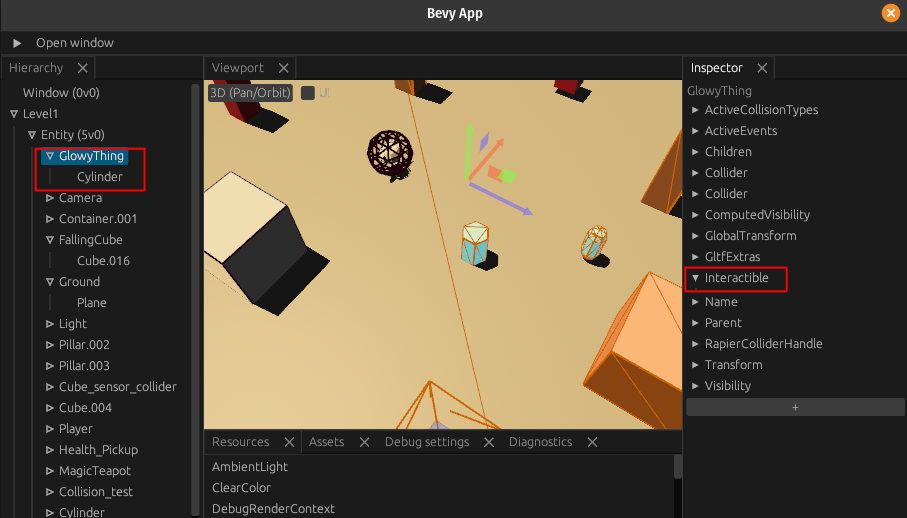
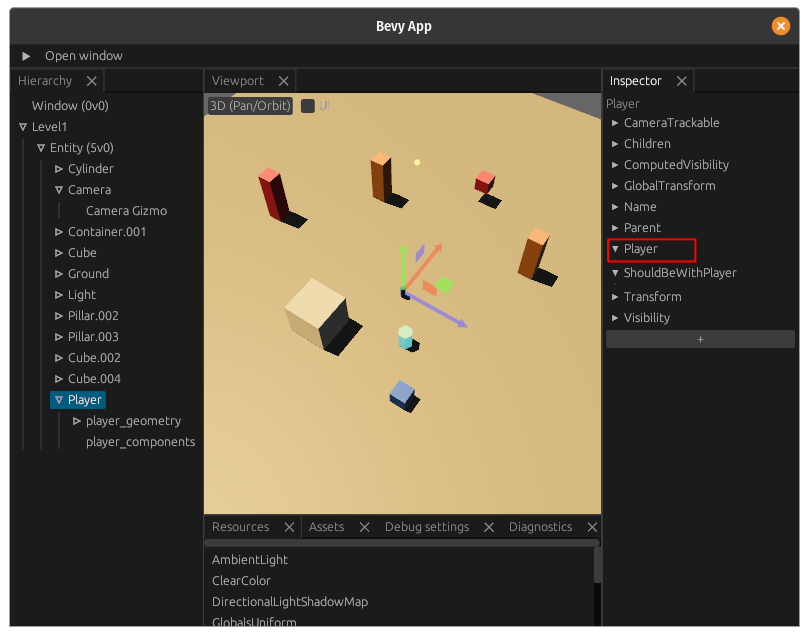
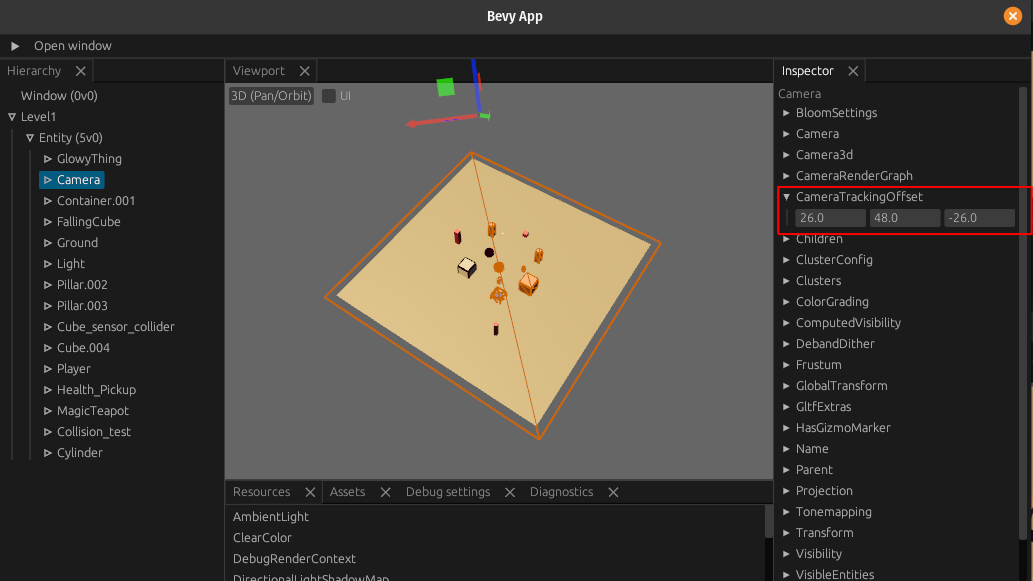
- you should see the components attached to your entities in Bevy
note: you get a warning if there are any unregistered components in your gltf file (they get ignored) you will get a warning per entity

